Assemble the
Photovoltaic Array
(PVA)
|

|
- Print Parts Sheet A on card stock. If your printer can print on both sides of the paper, do so with Parts Sheet A; the front and back images will line up back-to-back. Otherwise, cut out front and back sides separately, and glue them together.
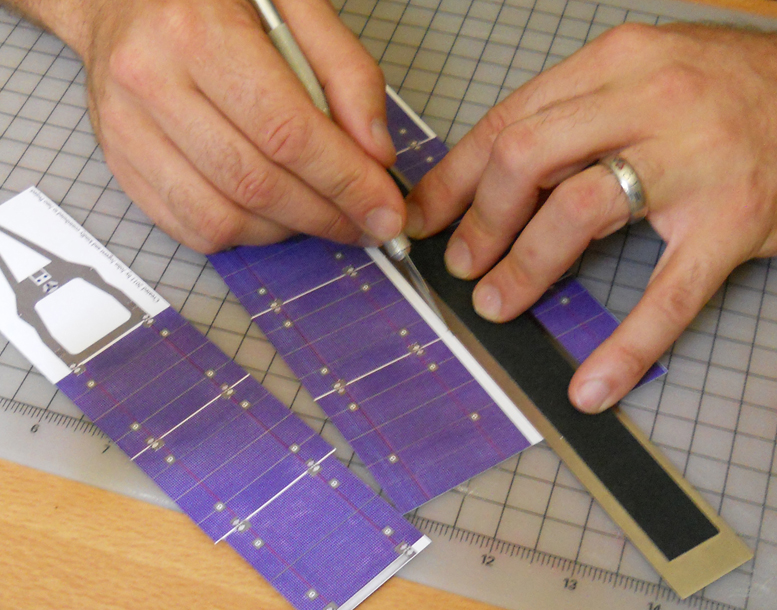
- Lay the printed Parts Sheet A on a cutting surface, and use an art knife and metal ruler to cut out the three pieces.

- Carefully cut out the two white areas inside the Magnetometer Boom structure.
- Locate the red "Y"-shaped lines on Parts Sheet A, labelled "Toothpick brace pattern." Take a toothpick, cut halfway into it with an art knife, break it partially, and line it up with the upper left line in the "Y"; cut it to length to match the red line.
- Cut another toothpick to the length of the lower red line. Line it up to the pattern, and glue one end to the "knee" in the first toothpick.
- Let the glue dry thoroughly, make two more of these toothpick brace structures, and paint them black. These pieces will represent the struts that hold the Photovoltaic Arrays in their deployed position on the spacecraft. Set them aside for now.
