
1/37 SCALE MODEL OF LIGHTSAIL-1

LIGHTSAIL-1's 3U CUBESAT WITH 4 SAIL BOOMS EXTENDED & SAILS SET; CLICK TO ENLARGE.
|
2. Attach the sail booms.
The LightSail-1 spacecraft deploys its sail booms in a manner not unlike extending a steel carpenter's tape measure. Mechanisms within the lower two CubeSat modules reel out a metal tape that curves as it extends, creating the four rigid booms, as they drag the sail material out between them.
In the scale model, we'll use two pieces of thin steel wire to represent the four sail booms.
When you're making holes for these sail booms in the steps below, keep in mind the orientation of the 3U CubeSat module's four photovoltaic panels in relation to the booms. See the image above right. Any hole you make should be in between the photovoltaic panels, not aligned with them.
To proceed:
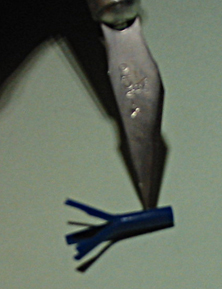 Lay the 3U module flat on your work surface. Perforate the piece with a sharp art knife, down near the lower third of the piece, penetrating through both walls of the tube diametrically. Lay the 3U module flat on your work surface. Perforate the piece with a sharp art knife, down near the lower third of the piece, penetrating through both walls of the tube diametrically.
It's important to get the holes aligned right through the diameter of the little tube—squarely opposite one another. You can elongate the holes a little, to permit some adjustment of the wire later.
- Obtain a length of thin stiff steel wire, such as a steel guitar string of 0.30 mm diameter. Cut two pieces to a length of 216 mm each.
- Insert one of the steel wires through the holes in the 3U bus, and pull it halfway through. This represents two of the four sail booms.
- Next, lay the piece on your work surface and pierce it again with your art knife, going through diametrically at 90 degrees to the existing sail boom holes.
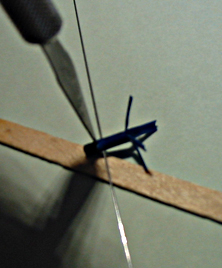
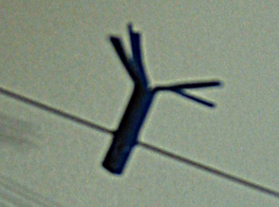
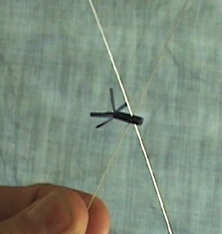
- Push the second piece of steel wire through these holes, adjusting so the two wire pieces (four sail booms) are very nearly perpendicular to one another.
- This completes installation of the four sail booms on your model's 3U CubeSat spacecraft bus.
Note that actual deployment of the booms on the LightSail-1 spacecraft also sets the sails, by dragging them out of the two lower CubeSat modules. For the scale model, we'll set the sails separately in the next step.
|
CLICK THE IMAGE BELOW TO SEE A MOVIE SHOWING THE COMPLETED ITEM FROM VARIOUS ANGLES.
|
|
Designed and contributed to members of The Planetary Society by SCI Space Craft
International, Pasadena, California USA.
SCI WAS ESTABLISHED 1987, AND HAS BEEN CONDUCTING SALES VIA THE WEB SINCE 1993.
www.SpacecraftKits.com
|
|
